Dinnerplate Dahlias
Posted by Jessie Jacobson on Mar 14th 2024
How to Grow and Plant Dinnerplate Dahlias
Dahlias are having their moment in the garden right now! We can't help but stop and stare when we see those big, voluptuous blooms. Easy to grow, and easy to care for, you too can be the envy of the neighborhood this season by growing your very own dahlias!
Tuber Power
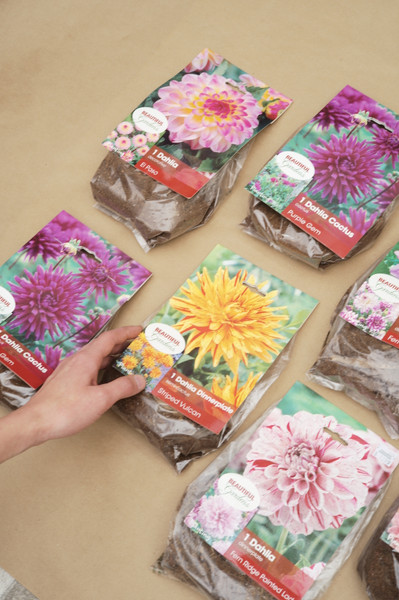
Dahlias, especially the ones with the big, big blooms, are grown from tubers. Tubers are kinda like bulbs, a modified root turned storage organ whose main job is to support the next generation of the plant. Tubers form over the course of the growing season storing energy and nutrients to help the plant survive the winter. Tubers are also a means of asexual reproduction and can be divided when large enough to make more! Tubers can be separated as long as part has piece of the main stem. Individual tubers will need an eye to produce in the spring. Other annual plants that develop tubers include cannas, caladiums, and tuberous begonias. After tubers are planted, shoots emerge from the eyes, just like a potato.
Planting Dahlias
Start dahlia tubers indoors 6-8 weeks before the last average frost. In the Twin Cities area, our last average frost is still considered mid-May, so we can start our dahlias indoors mid-March or early April.
At Tonkadale, you can purchase dahlia tuber clumps in packs of two. We reccommend planting two clumps in a 12"-14" pot. Plant in an all-purpose potting soil like out organic house blend Tonka Terra.
Shop dahlia tubers here!
Step by Step
- Purchase dahlias from a reputable source. Make sure they are firm, fresh, and free of mold.
- Plant two tuber clumps per 12"-14" pot. We like the plastic drop-ins 'cause they got the good drainage and are easy to maneuver.
- Use all-purpose potting soil like our organic house blend, Tonka Terra.
- Fill your pot 1/2-2/3 full with soil
- Place dahlias with the stem side (you will be able to see the dried-out stem from last season's plant) up spreading out tuber fingers evenly.
- Cover with soil, tamp down gently.
- Water in well.
- Place in a cool, dry place until shoots emerge, then move to a bright, sunny window.
Pinch and Tie
- When shoots reach about 12" tall, it's time to pinch. Pinch each growing tip down to the first node. Pinching releases apical dominance and allows side shoots to emerge producing a fuller, bushier plant.
- When shoots reach 24"-36", it's time to tie them up. We like to use two 36" bamboo half-hoops to form a dome of sorts. Criss-cross at the humps and zip tie together. Gently tie stems to bamboo hoops with plant ties. Continue to tie up as plants grow.
Growing On
- Dahlias love full sun in the garden. Place or plant in a location that receives at least 6 or more hours of sun per day!
- You can enjoy dahlias in containers for the season or transplant into the ground.
- Dahlias need to be watered well all season well, especially if grown in containers which dry out more quickly than garden beds.
- Fertilize with a bloom focused fertilizer such as Miracle Grow's Blooom Booster or Espoma's Flower Tone which is suitable for organic gardening.
End of Season
Dahlia tubers are not sufficiently hardy to survive Minnesota winters underground. After the first hard freeze, dig or lift dahlia tubers from garden beds. Read our blog about Lifting Summer Bulbs for Winter Storage here!

